Getting Started
To login into your admin dashboard visit the eCommerce site
login page. for example : https://topazshop.net/login(Note: Click on the images to view full mode)
Before you can start selling on the Topaz eCommerce site you have to configure your shop. Like you need to configure at least one payment method to accept payments and create a shipping zone to allow customers to order from your shop etc. I assume you have been registered on any of the Topaz portal as a merchant. Let’s start!
Settings
- User Roles
Info! - You can not access or modify users who have more privilege than you. You can only create users with less privilege than yourself. owner or the merchant has full control over the system store.
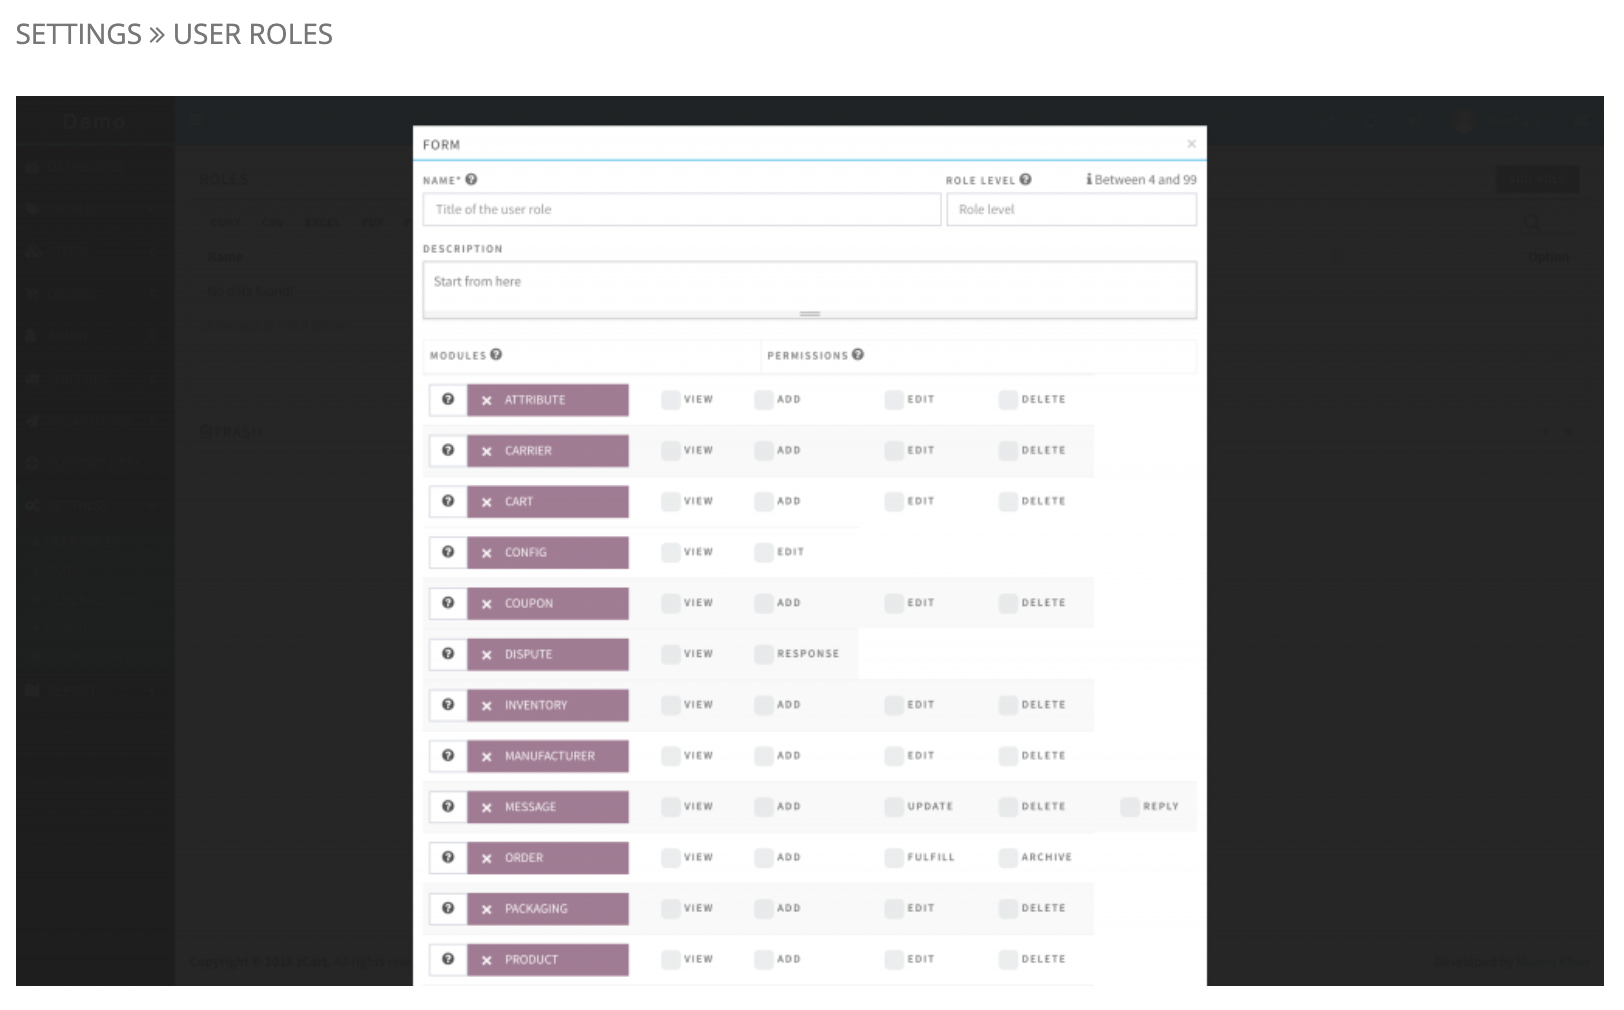
Info! - After Setting User Roles, Go to ADMIN - USERS- and create your staff. you can assign them any of the roles you have created and have them login to the portal with the credentials you created.
- General Config
This should be up to update. Your brand information like business name, logo, cover image, physical location etc.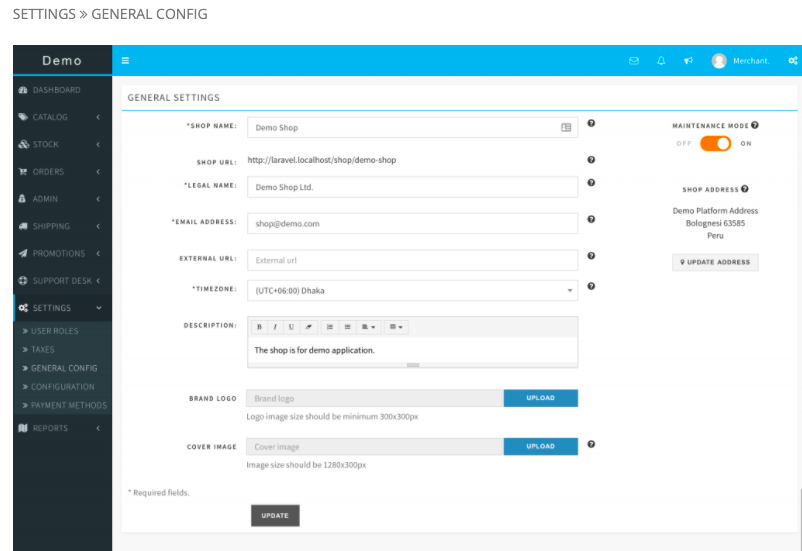
Here you can manage everything about your inventories, orders, supports and notifications.
SETTINGS CONFIGURATIONS
Inventory
ALERT quantity level of your inventory. The system will send you a notification email if any of your items goes below this level so that you can take action fast.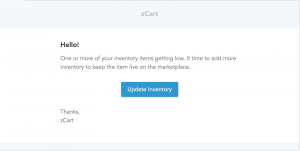
Order
handling cost that’ll be added with the calculated shipping cost on the checkout page. You can set the order number prefix and suffix, defaults for payments, order tax etc. here.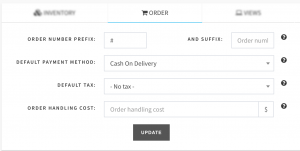
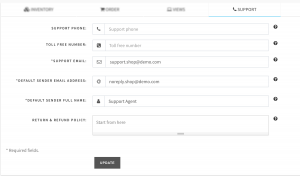
Support Information
Notification Settings
You can turn on/off your notifications here.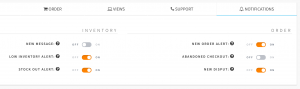
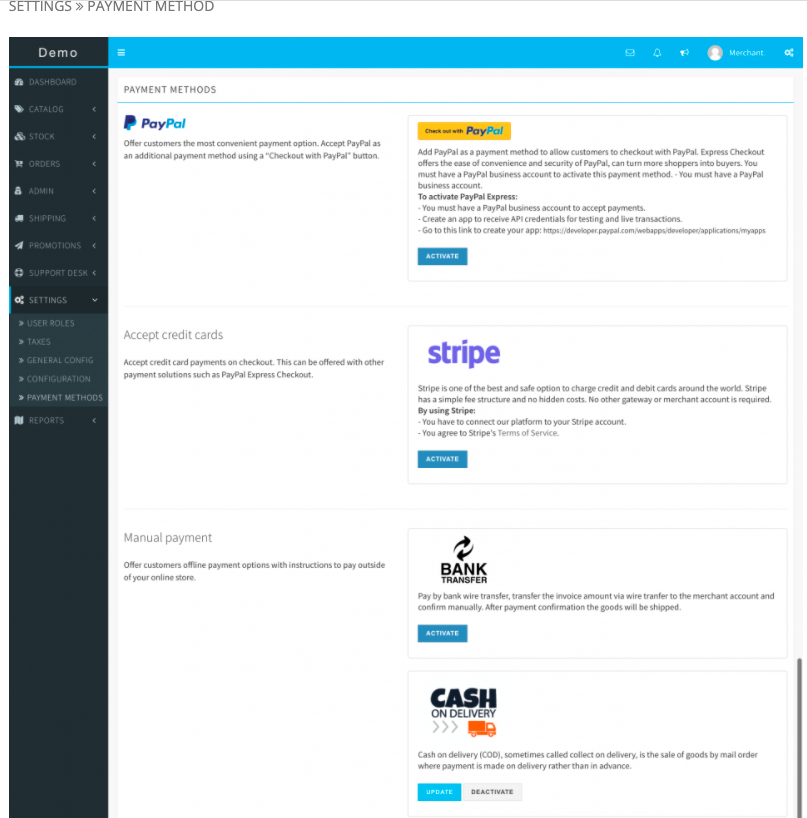
- Payment Methods
- Go Live
It’s time to go live. Let’s turn OFF the MAINTENANCE MODE and confirm.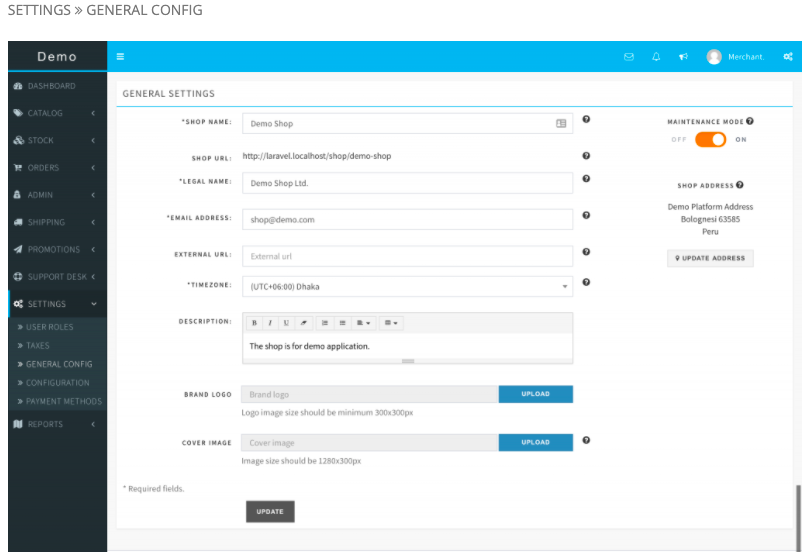
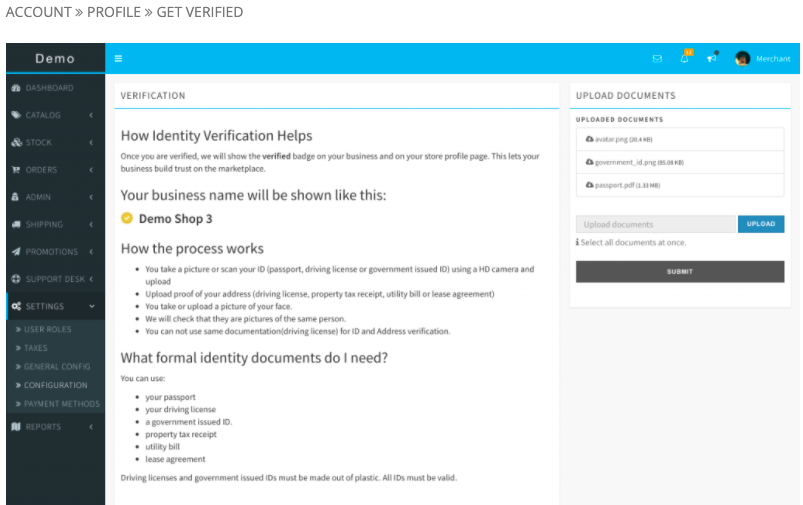
- Get Verified
Verified sellers get more sales! Because of the customer is more comfortable to buy from verified sellers. So get verified and win a shiny verified badge ![]() .
.
On your profile page, you’ll see your verification status. Click over the GET VERIFIED to submit your documents.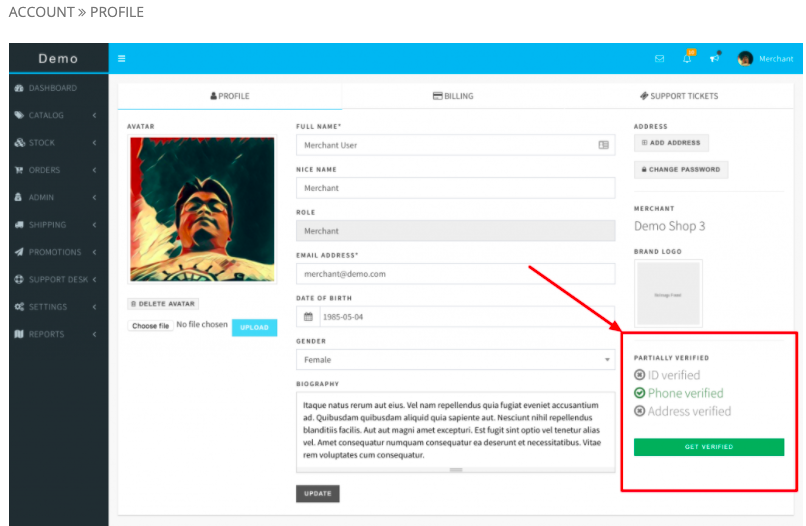
Follow the instructions on the page (as preview picture below) and submit your documents. The platform staff will review your submission and take necessary actions to complete the process.